Tuesday, 12 August 2014

DIY Inspiration: Printspiration

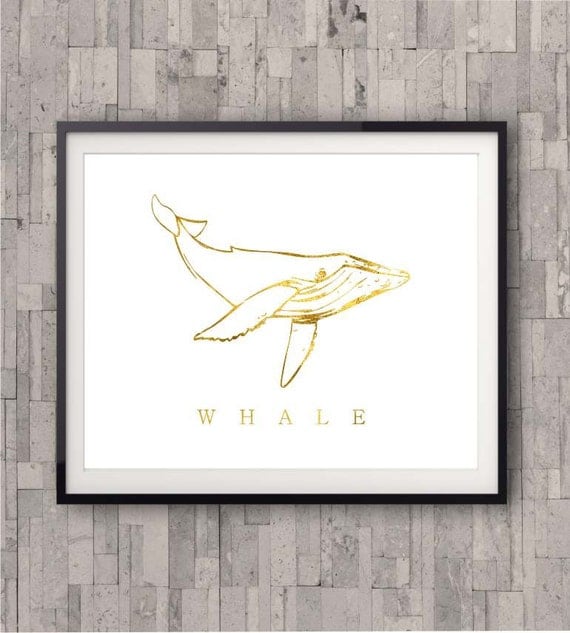
Whale Gold Print, Beach Decor, Gold Foil Print, Shiny gold finish, Nautical Decor, Beach Home Decor, Art Print , Beach Poster

Trends With Benefits recently did a post about back to school home furnishings and they suggested getting prints from Etsy. I hadn't really looked on there before (I'm so behind on trends) and found myself spending AGES on there, scrolling through pages and pages of art. I'm moving from uni halls into a flat this September so I wanted something simple but eye-catching to sit next to my desk (rented flat = nothing allowed on the walls).
The Whale print above is from the wonderful shop The Digital Studio. Pretty much all of their prints are gold on white and because they don't include frames, the prices are extremely reasonable and perfect for my student budget. 
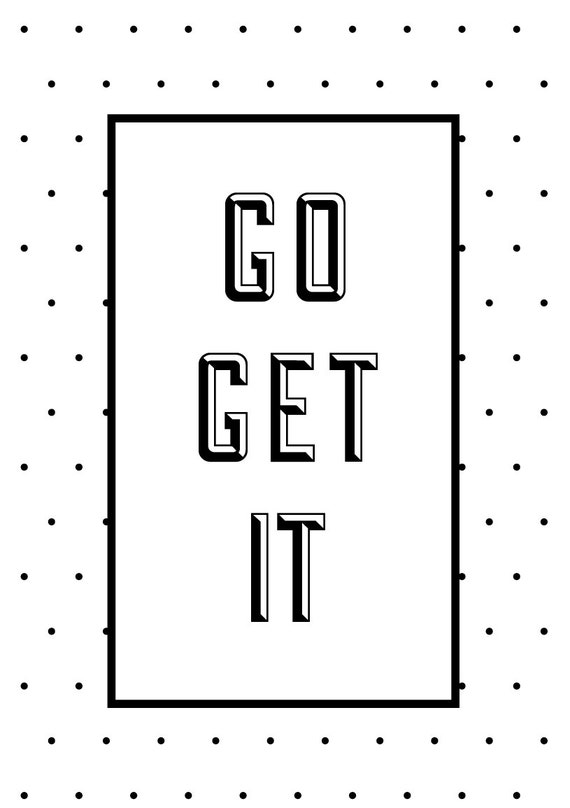

I also loved this Go Get It print from Sir Albert Company which will be perfect motivation for the dreary days when I don't want to learn about genetics anymore, I just want to curl up in my bed and watch Desperate Housewives.
Etsy has now become my go to place for prints and home furnishings because they just have such a large range of brilliant products from a wide variety of businesses. I'm very impressed!

I'm planning on using the gold from The Digital Studio as inspiration to create my own inspirational poster. Watch this space...

Sunday, 11 May 2014

Recipe: Banana and Nutella Cake


In my opinion, nothing smells better than warm banana bread. I baked this the day of an exam and it certainly calmed my nerves. A good dollop of Nutella and a chocolatey-nutty flavour to this crumbly cake/bread. Is banana bread actually bread or is it cake? I never know.
Anyway, this was incredibly easy to make and was even easier to eat!

Recipe adapted from BBC Food

You will need:
  • 145g softened unsalted butter
  • 145g caster sugar
  • 2 large room temperature eggs
  • 145g self raising flour
  • 1 tsp baking powder
  • 1 tsp vanilla extract/essence
  • 2 ripe bananas, mashed (make sure these aren't too cold if you kept them in the fridge, like me)
  • 2 tbsp Nutella
1. Cream together the butter and sugar until golden, light and fluffy.
2. Beat the eggs and vanilla together before adding to the butter/sugar mixture.
3. Add in the flour and baking powder.
4. Gently mix in the banana 
5. Place into a lined loaf tin and spoon on your Nutella
6. Use a knife to swirl it throughout the loaf
7. Bake in a 180 oven for 50 minutes

This cakes ends up with a kinda crispy outside and all the Nutella sinks to the bottom, meaning every slice gets a large chunk of the goodness. Bake and eat quickly!

Wednesday, 7 May 2014

DIY: Pastel Earrings


This post was going to be all about the wonder of Spring but as I write this, it is raining very heavily here in London. Typical.
This DIY is inspired by a lot of the enamel-looking jewellery I've seen on the internet and instead of buying any, I decided to make my own! This one is nice and quick so you can have a 'new 'pair of earrrings in about fifteen minutes.

You will need:

  • A pair of crystal based earrings - mine are old, cheap ones from River Island
  • A white and a pastel nail polish (you can use paint if you have any to hand but nail polish is just cheaper and more easily available)

1. Use the white nail polish as a base and cover the entire crystal in it, trying to avoid the metal where possible.


2. Paint over with the pastel nail polish, ensuring the finish is smooth.


This can be done in a whole host of colours, providing you with a rainbow for Spring. You can also use a matte top coat over the top, just to add that enamel feeling.

Wednesday, 30 April 2014

Recipe: Oreo Cheesecake Bites


This recipe was initially inspired by a picture I saw on twitter of an Oreo cheesecake, which looked ridiculously delicious. Then, the theme for my next University Baking Society meeting was "no bake" so instead of making the standard rocky road or flapjacks, i thought about no bake cheesecake and thus Oreo Cheesecake Bites were born. Cute story, right?
Anyway, these are ridiculously simple to make and they are even easier if you have a stand/hand mixer (to whip the cream). If you leave these overnight then the layer of Oreo in contact with the cheesecake can get a little soggy but I think it really adds to the overall texture.

Ingredients:

  • A packet of Oreos (approximately 14)
  • cupcake cases
  • 250g soft cream cheese
  • 100ml double cream
  • 50g icing sugar
  • 1 1/2 teaspoons vanilla extract/essence
1. Place the cupcake cases in a cupcake tin and put an Oreo in the base of each. These actually fit very nicely.

2. Whip up the double cream until it becomes nice and thick.

3. Mix in the cream cheese, vanilla and icing sugar until it is smooth.

4. Place a nice dollop on top of each Oreo and put in the fridge until you want to eat them


Mmmmm, looks so good!